• Home
  • About
  • PR/Contact
  • Disclosure
  • Reviews
  • Sign Up
  • Shop My Stash

All Things Beautiful XO

Stephanie Louise Telford & her guide on beauty, style, & glitter!

5 Eyeshadow Looks Perfect for Valentine’s Night

February 14, 2013 By StephanieLouise 538Leave a Commenthttps%3A%2F%2Fwww.allthingsbeautifulxo.com%2F2013%2F02%2F5-eyeshadow-looks-perfect-for.html5+Eyeshadow+Looks+Perfect+for+Valentine%27s+Night2013-02-14+19%3A50%3A00StephanieLouisehttp%3A%2F%2Fwww.allthingsbeautifulxo.com%2F2013%2F02%2F5-eyeshadow-looks-perfect-for-valentines-night.html

 photo Untitledeasydiyvdayeye_zpsc46114ab.jpg

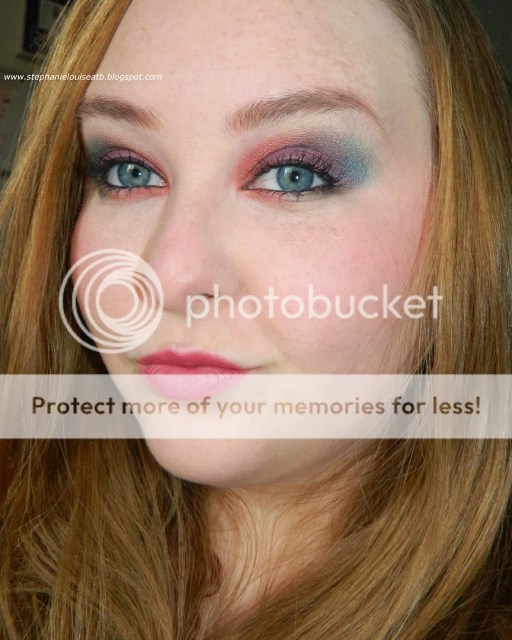
So I’m actually working on a Valentine’s Day look currently because my eyes itched SO badly yesterday that I just couldn’t do it. Couldn’t. & honestly, it would’ve looked crap if I had tried. So, while I’m getting myself together, here are 5 looks perfect for tonight!

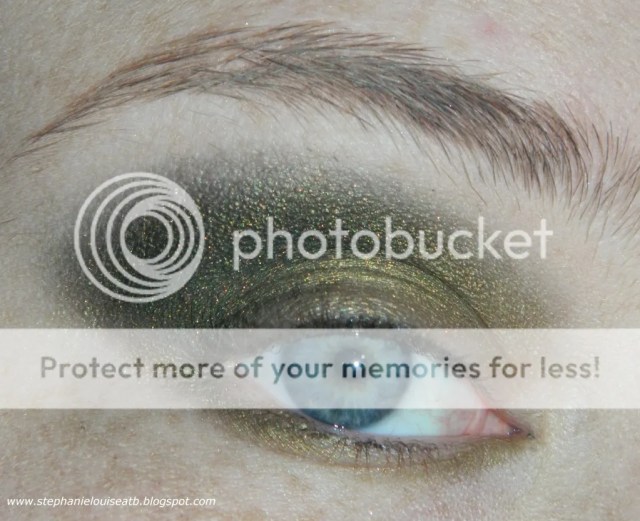
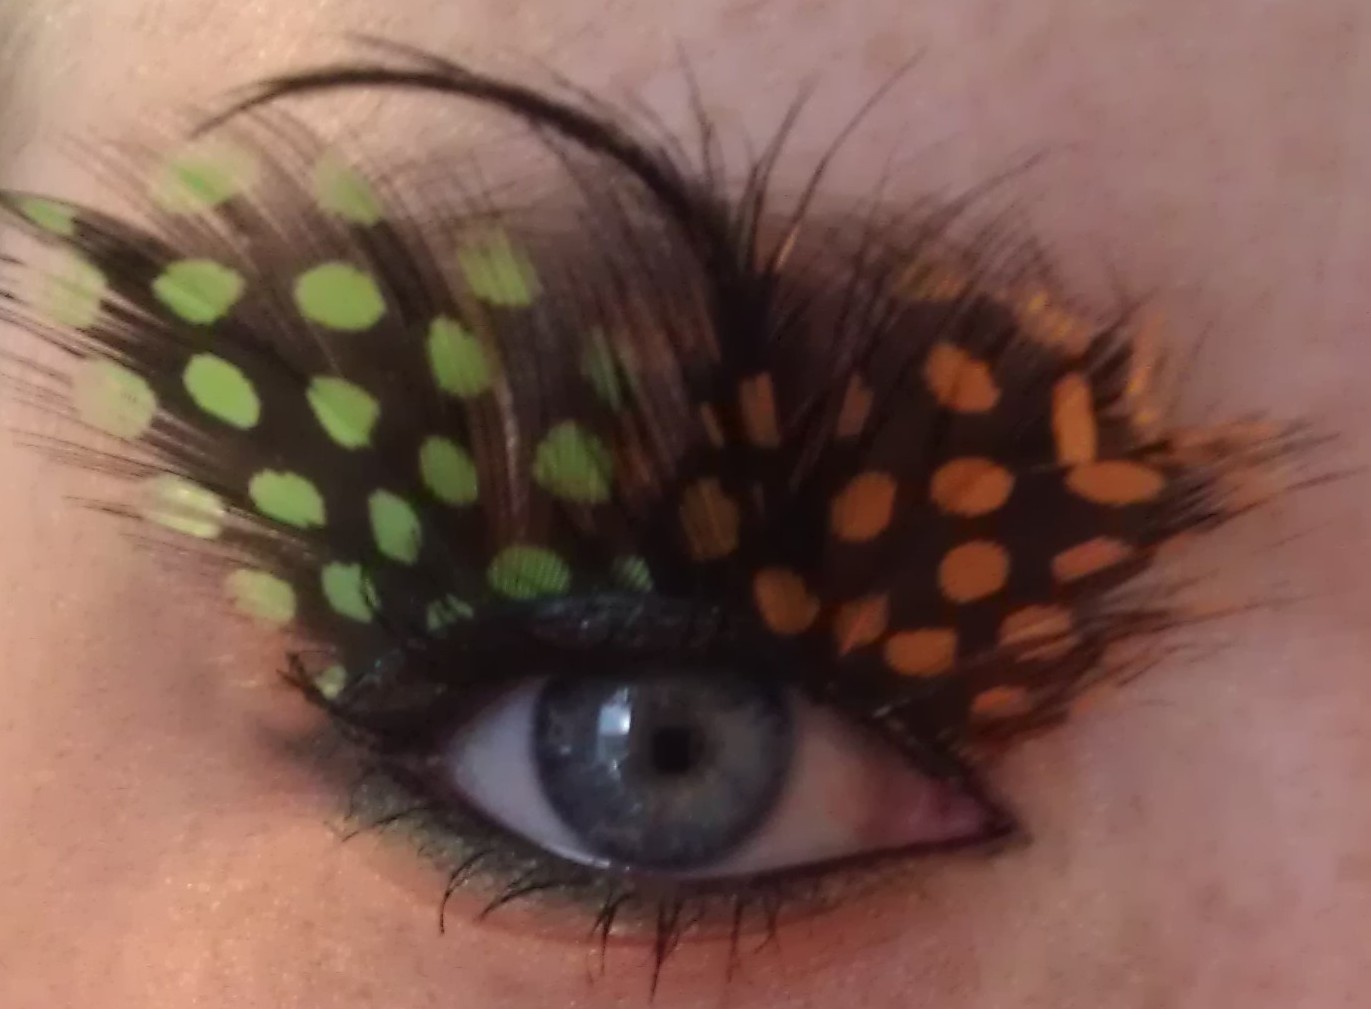
Each photo is linked to a tutorial or eyeshadow look. Check them out for more information!

 photo DSCN4365_zps88f3b321.jpg photo DSCN3968_zps261feaa9.jpg photo DSCN2734_zpsb1237560.jpg photo IMAG0219_zpse2911d2a.jpg  photo DSCN1665_zps184ba6fb.jpg

What are you rocking today or tonight? I’d love to see! What is your favorite date night look?

Filed Under: Eyes, Tutorials & Looks

Hair: Random Late Night Twisted Headband!

February 5, 2013 By StephanieLouise 559Leave a Commenthttps%3A%2F%2Fwww.allthingsbeautifulxo.com%2F2013%2F02%2Fhair-random-late-night-twisted-headband.htmlHair%3A+Random+Late+Night+Twisted+Headband%212013-02-05+16%3A56%3A00StephanieLouisehttp%3A%2F%2Fwww.allthingsbeautifulxo.com%2F2013%2F02%2Fhair-random-late-night-twisted-headband.html

 photo 7bbf3b95-6d3a-49fc-be99-c63063146c47_zpsc388db70.jpg 

Last night I stumbled onto something awesome. Does anyone else mess with their hair while they watch tv? I try not to but I knew I was washing it today & that’s when I do weird braids & such. Last night though…something cool happened without me trying! Keep reading for instructions!

 photo DSCN3024_zps08594f4f.jpg

I started by taking a small strand from the very from of my hair above my left ear & twisting it towards the back. I collected strands across the front until I had a thin roll all the way to my other ear.

 photo DSCN3047_zpsf686983e.jpg

 photo DSCN3045_zps14671320.jpg

Next I created a rounded shape by grabbing a thicker chunk of hair in a half circle type shape & coming back around. I didn’t go close to the first twist because I didn’t want it to look like corn rows…& I’m glad I didn’t! My twist ended up going along the crown of my head. In the end, it actually turned into kind of a headband!

 photo DSCN3026_zps47af26e6.jpg

I loved it! I did this in the dark & told hubby to turn on the light. He said “When did that happen? How did you do that?” at least 4 times. He thought it looked pretty cool! Keep in mind I didn’t have a mirror & did this all by feel so please excuse any bumps or lumps!

 photo DSCN3022_zps43466f43.jpg

What do you guys think? Does anyone else play with their hair like this when they’re bored? I was actually kind of bummed to take it out!

Filed Under: Hair, Tutorials & Looks

New Years Eyeshadow: Think Pink in the New Year!

December 31, 2012 By StephanieLouise 588Leave a Commenthttps%3A%2F%2Fwww.allthingsbeautifulxo.com%2F2012%2F12%2Fnew-years-eyeshadow-think-pink-in-new.htmlNew+Years+Eyeshadow%3A+Think+Pink+in+the+New+Year%212012-12-31+21%3A25%3A00StephanieLouisehttp%3A%2F%2Fwww.allthingsbeautifulxo.com%2F2012%2F12%2Fnew-years-eyeshadow-think-pink-in-the-new-year.html

Photobucket

So for this New Year’s eyeshadow look, I thought I’d go pink! I have seen lots & lots of purple looks (my go to shade!) so I thought I’d go with a bright pink instead of glitter. I used a palette I don’t use much but really love as well! For everything I’ve used, just keep reading!

Photobucket
Photobucket

Primer: Too Faced Shadow Insurance

Eyeliners: Jesse’s Girl Kohl White Eyeliner in my lower rim, Covergirl Liquiline Blast in black on my upper waterline, & Jordana Fabu Liner Liquid felt tip liner in black on the lashline.

Eyeshadow: Coastal Scents Think Pink Palette ( I used the shades HP-ME20, HP-ME07, M08, & ME23 in case you want to purchase the Coastal Scents Hot Pots.) If you want to use your own shades I used a frosty white highlight, fuchsia pink base shade, frosty mauve pink inner corner, & black with fine pink glitter in my crease.

Mascara: L’Oreal Voluminous Carbon Black

What do you think? What color are you bringing in the new year with? How do you wear your pink eyeshadow? PS the nails in the top photo are my New Years manicure which I posted earlier!

Filed Under: Eyes, Palettes & Sets, Tutorials & Looks

Starlooks Starbox December Palette Eyeshadow look!

December 26, 2012 By StephanieLouise 597Leave a Commenthttps%3A%2F%2Fwww.allthingsbeautifulxo.com%2F2012%2F12%2Fstarlooks-starbox-december-palette.htmlStarlooks+Starbox++December+Palette+Eyeshadow+look%212012-12-26+22%3A42%3A00StephanieLouisehttp%3A%2F%2Fwww.allthingsbeautifulxo.com%2F2012%2F12%2Fstarlooks-starbox-december-palette-eyeshadow-look.html

Photobucket

So earlier today I raved about my December Starlooks Starbox & promised to show you a look using the awesome palette inside! I loved this look so much, definitely a fun Christmas look! It was just my hubby & I this year so I didn’t play it safe! That white gold I adore so much was oh so lightly dusted on as a highlight.

Photobucket
 
I didn’t take lots of pictures of this look, but I adore the picture before! I think it came out really well even though I just did some quick photos!

Photobucket
This definitely made me think of a holiday season rainbow! What do you think? If you get a Starlooks Starbox, I’d love to see what kind of looks you have created!

Filed Under: Eyes, Tutorials & Looks

Eyes: Dramatic Wet n Wild Shimmer ‘Til Morning Look + Tutorial

December 18, 2012 By StephanieLouise 604Leave a Commenthttps%3A%2F%2Fwww.allthingsbeautifulxo.com%2F2012%2F12%2Feyes-dramatic-wet-n-wild-shimmer-til.htmlEyes%3A+Dramatic+Wet+n+Wild+Shimmer+%27Til+Morning+Look+%2B+Tutorial2012-12-18+17%3A39%3A00StephanieLouisehttp%3A%2F%2Fwww.allthingsbeautifulxo.com%2F2012%2F12%2Feyes-dramatic-wet-n-wild-shimmer-til-morning-look-tutorial.html

Photobucket

I’m pretty excited to bring you guys a requested eye look today! I reviewed the Wet n Wild Sparkle ‘Til Morning Limited Edition Palette awhile back & got a few requests to do a tutorial for the left side of the palette as well. When I asked if you guys wanted to see something wearable (I consider the tutorial in that post to be pretty wearable) or something more dramatic the consensus was dramatic. Check out my tutorial below!

I used all 4 shades in the palette on the left side for this eye look…& it is super easy. I honestly forgot to put on eyeshadow primer before beginning so this is straight fro the pan. I love it, it was so fun in person!

Photobucket
Photobucket

Re-Create It:  I applied the copper crease shade to well..my crease. I worked that shade under my eye about 1/3 of the way as well connecting it to my crease. I then took that awesome definer shade & took that from my inner corner to about 1/4 of the way onto my lid. I then used a small crease brush to sweep it right above my socket bone to make a reverse cut crease. I also took that shade about halfway along my lower lash line. The brown eyelid shade was then lightly pressed onto the center of my eyelid & then blended at the edges on both sides & into the crease a bit. It should bend into the copper shade pretty seamlessly. I then popped just a touch of that between the two shades on my lower lashline to blend. I took the browbone shade with a fluffy brush very lightly below my brows.

Photobucket
Photobucket

On my cheeks I’m using one of my favorite blush shades of all time which is Heather Silk from Wet n Wild. On my lips is Wet n Wild Megalast Lipstick in Peachy Keen.

I really hope you guys liked this look! I can’t wait to work with this side of the palette more in the spring/summer! This one is limited edition from Wet n Wild from the Holiday/Winter 2012 Collection but you might still be able to snag it? I’ve seen a few from this collection here & there! I found mine at Walgreens.

Filed Under: Eyes, Tutorials & Looks

Goody Spin Pins Rave + How I Use Them!

November 16, 2012 By StephanieLouise 654Leave a Commenthttps%3A%2F%2Fwww.allthingsbeautifulxo.com%2F2012%2F11%2Fgoody-spin-pins-rave-how-i-use-them.htmlGoody+Spin+Pins+Rave+%2B+How+I+Use+Them%212012-11-16+18%3A15%3A00StephanieLouisehttp%3A%2F%2Fwww.allthingsbeautifulxo.com%2F2012%2F11%2Fgoody-spin-pins-rave-how-i-use-them.html

Photobucket

If you look at my hair stash, you’ll find about every gimmick in the book. Often they get pushed to the back & rarely (if ever) used. The Goody Spin Pins are an exception. I received a new pair for dark hair in my Influenster Beauty Blogger Vox Box & couldn’t be happier.

Photobucket 

I bought mine in the light shade to match my light hair but honestly…you barely see these suckers once they’re in your hair. I put the “Dark Hair” ones in between my “Light Hair” ones on the left & the “Mini Spin Pins” on the right. They look so wacky, I still play with them constantly.

Photobucket

Here’s the styles they include. I’ve done them all successfully. I also have loads I have come up with on my own like a roll under, twists, & some flippy styles. Lots, really. Let me know if you guys want to see videos on how I do those.

Photobucket
Photobucket
Photobucket

I thought I’d end this review showing how I use them most often: on my thick damp hair. I love these! I hate putting rubber bands around my wet hair & clips often slide around as it dries. With the Goody Spin Pins, I apply some product, twist, then spin. When my hair dries, it has natural body & waves…without tugging at tit to get the band out. LOVE. I didn’t even try to make this pretty…this is just how it looks!

Photobucket

Check out these Spin Pins & other Goody products on their site http://www.goody.com/ & check out your local Walmart, Target, CVS, Walgreen’s, Kroger, & Duane Reade. Do you guys use these? What do you think?

Filed Under: Hair, Tutorials & Looks

Dramatic Night Fall Tutorial Using Christina Choi Cosmetics Eyeshadows in Martini Olive & Black Forrest!

November 13, 2012 By StephanieLouise 656Leave a Commenthttps%3A%2F%2Fwww.allthingsbeautifulxo.com%2F2012%2F11%2Fdramatic-night-fall-tutorial-using.htmlDramatic+Night+Fall+Tutorial+Using+Christina+Choi+Cosmetics+Eyeshadows+in+Martini+Olive+%26+Black+Forrest%212012-11-13+20%3A55%3A00StephanieLouisehttp%3A%2F%2Fwww.allthingsbeautifulxo.com%2F2012%2F11%2Fdramatic-night-fall-tutorial-using-christina-choi-cosmetics-eyeshadows-in-martini-olive-black-forrest.html

Photobucket

If you caught my review of the Christina Choi Cosmetics sent to me yesterday, then you know I hinted at a tutorial! I’m still working with some lighting so be kind! I hope you guys like this, my husband really did!

I think I did a pretty good job explaining how to get this look in the video but just in case you need a refresher: Martini Olive on the lid &  Black Forrest into the crease. I also used a bit of Wet n Wild Creme Brule under the browbone.

Photobucket
Photobucket

Before Mascara/Liner 
Photobucket
Photobucket
After Mascara/Liner 
Photobucket
Photobucket

Hubby rarely comments about my makeup unless it is bright colors…honestly he’d be cool if I was Rainbow Brite. But he DID say how much he liked this! It really caught the light & when we shopped at the BX to do a little shopping before going out I got compliments from the sales girls. Always nice! These are genuinely unique shades, I tried to compare them but I don’t have anything that comes close enough!

What do you guys think? Are you digging this look as a going out/date night dramatic eye? You can pick up these products at http://www.christinachoicosmetics.com/

Some products used in this tutorial were sent to me. This post was not asked of me, I just enjoyed them this much! All opinions are 100% honest & my own!

Filed Under: Eyes, Tutorials & Looks

Drugstore Mermaid Costume Makeup Tutorial- with Scales & Glitz!

October 26, 2012 By StephanieLouise 6702 Commentshttps%3A%2F%2Fwww.allthingsbeautifulxo.com%2F2012%2F10%2Fboooo-ty-blog-coalition-link-up.htmlDrugstore+Mermaid+Costume+Makeup+Tutorial-+with+Scales+%26+Glitz%212012-10-26+16%3A56%3A00StephanieLouisehttp%3A%2F%2Fwww.allthingsbeautifulxo.com%2F2012%2F10%2Fboooo-ty-blog-coalition-link-up-drugstore-mermaid-costume-makeup-tutorial.html

Drugstore Mermaid Costume Makeup Tutorial- with Scales & Glitz!

I have to say, I’ve been so excited about this post! It has been my favorite idea because all I used was easy to find drugstore makeup. From foundation to false lashes, the full tutorial is in the video below! I’ve also listed all the products below. I went with purple & blue, my favorite mermaid shades! This would work with an color combinations though, especially if they are well pigmented! I highly recommend the turquoise shade I used, it applied perfectly! To find out how I created this look & to check out the fabulous Halloween creations from other Beauty Blog Coalition members, just keep reading! [Read more…]

Filed Under: Drugstore, Tutorials & Looks Tagged With: Blue, Costume, ELF, Eyeshadow, Halloween, Halloween 2012, Jesse's Girl, Jordana, L'Oreal, Maybelline, Mermaid, NYC, Pigments, Purple, Revlon, Rimmel, Wet n Wild

Boooo-ty Blog Coalition Link Up: Fall Festival Coastal Scents Palette Pumpkin Spiced Eyeshadow Tutorial

October 12, 2012 By StephanieLouise 681Leave a Commenthttps%3A%2F%2Fwww.allthingsbeautifulxo.com%2F2012%2F10%2Fboooo-ty-blog-coalition-link-up-fall.htmlBoooo-ty+Blog+Coalition+Link+Up%3A+Fall+Festival+Coastal+Scents+Palette+Pumpkin+Spiced+Eyeshadow+Tutorial2012-10-12+17%3A56%3A00StephanieLouisehttp%3A%2F%2Fwww.allthingsbeautifulxo.com%2F2012%2F10%2Fboooo-ty-blog-coalition-link-up-fall-festival-coastal-scents-palette-pumpkin-spiced-eyeshadow-tutorial.html

Photobucket

Normally I do a review before I do an eyeshadow look, but I couldn’t help it! I might still be testing these shades, but I adore this look! Ready to jump into the Halloween/Fall season? This is an easy look to achieve & definitely a bit fun while still being wearable. I’ll have some costume type tutorials coming up…less wearable!

Photobucket
Photobucket
Photobucket 

Just a note, I actually ended up going with something more berry-toned on my lips after wearing this for a bit. I thought it was TOO pink (ha!) but I liked it a lot. It was orange without being too orange & had a nice shimmer to it. With the Urban Decay Primer Potion in Eden under it, it lasted perfectly as well. I’ve never had issues with the Coastal Scents Hot Pots.

Photobucket 

So here are all the products I used, from face to eyes to lips. I explain all the eye type stuff in the video, but if you don’t recognize any of the products here I’ll list them!

Photobucket
Photobucket

I think this look is pretty easy, it didn’t take long. I love this orange, it is not a bronze or pale or neon orange, just a shimmery orange! This palette has hot pots which basically means you can pop them out. It is cheaper to buy the palette as a whole from Coastal Scents but if you don’t see yourself using these shades, just create your own with shades you will use. I find this system to be a lot safer on my wallet than the Urban Decay version! Ouch!

Photobucket
Photobucket

In the end, I think this look is fun, definitely made for Fall, & perfect for someone who isn’t looking to go too wild. I’ll be using this palette for some more upcoming looks. If you own it, what are some of your favorite color combinations? From photos, are there any you want to see?

Photobucket

Filed Under: Eyes, Tutorials & Looks

Spookfest 2011: Pumpkinette Makeup Look & Tutorial!

October 5, 2011 By StephanieLouise 9333 Commentshttps%3A%2F%2Fwww.allthingsbeautifulxo.com%2F2011%2F10%2Fspookfest-2011-pumpkinette-makeup-look.htmlSpookfest+2011%3A+Pumpkinette+Makeup+Look+%26+Tutorial%212011-10-05+17%3A49%3A00StephanieLouisehttp%3A%2F%2Fwww.allthingsbeautifulxo.com%2F2011%2F10%2Fspookfest-2011-pumpkinette-makeup-look-tutorial.html

Yay! Halloween Makeup/Costume Ideas! 

So I try NOT to buy the face paint and stuff every year, mostly because it does something awful to my skin! So I’m going to be putting together makeup looks with MAKEUP instead of something you’ll only use once a year! Instead I’ll be using low-cost options which means: affordable, reusable, & easy to find! Enjoy!
Here’s the breakdown: 
– Super affordable looks with items you can wear again and again!
– Mainly drugstore/low cost options!
– Use a lot of makeup you probably already have while supplementing!
End result? A beautiful Halloween look without a bunch of one-use products!
If you would like a high end version of any of these looks or you want to see a certain look in particular, just let me know and I will do my best to fulfill your request!
Pumpkinette Makeup Look! 
This look was requested by a busy mom who wants to wear fun makeup for her son’s first Halloween! He is a pumpkin!
 
For This Look: 
Items you probably already have:  
-concealer
-powder
-eye primer
-foundation
-bronzer (preferably with shimmer as its not for contouring)
-black mascara
-black gel eyeliner
-nude lip liner ( I used NYC Jumbo Lipstick Pencil in Bewitching)
-nude/brown gloss (I used ELF Liquid Lipstick in Maple Sugar)
Items needed:
– LA Colors Trio in Boardwalk ($1-$2)
– Wet n Wild Color Icon Shadow Single in Envy ($1 or less)
For the Dramatic Look:
– Green & Orange Polka Dot Feather Lashes from KK Center ($3.69 a pair)
-Lash glue of your choice
 
Create this look!

Step 1: Apply your face makeup as you normally would as well as your eye primer. Save bronzer till after you have cleaned up any fallout since its shimmery!
Step 2: After letting your eye primer sink in, apply your gel liner on inner eyelid, both bottom & top. Then slightly on the upper lashline on the outer corner if desired. I would definitely do this if you wanted to apply false lashes to give yourself a line to follow!
LA Colors Trio in Boardwalk
Step 3: Starting with the yellow shade, go directly under the browbone. This is your highlight so use a lighter touch.
Step 4: Take the orange shade and go from lashline to crease. Blend and add additional for impact if desired, but this is REALLY pigmented. Don’t apply too much or it will crease throughout the evening.
Step 5: Take the deep green shade and an angled eyeliner brush. Line the outer 3/4ths of each eye. If you want a pointed/winged look like I have here, bring the brush up from your outter bottom lash line and use that line to connect your top lid for the point. Once again, this is very pigmented!
Step 6: Take the orange shade again and put it in your inner corners to smooth the section between where the green shadow ends and to brighten your eye.
Step 7: Remove any excess with a fan brush and then apply your bronzer to entire face, blending down the neck. Apply more to the apples of your cheeks as you would blush.
Step 8: Curl lashes and apply mascara.
Step 9: Apply your lipliner to entire lip to make the lipstick really last! Then add lipstick or gloss in a neutral color so it will wear off naturally throughout the night.
Optional: I chose to wear a messy up-do for this look and then added a feathered headband in a brown shade. I bought this for only $1 at a discount store! You can make your own easily using a few feathers, ribbon, and a jewel! You can also wear any kind of Halloween hair accessory because it will likely compliment the makeup.


For the dramatic look, add these FABULOUS green & orange polka dot feather lashes! (Try saying that sentence 10 times fast, I about put myself into a seizure!) These are from KK Center and are only $3.69. They have tons of other types/shades/varieties but I like the dup colors the best because if I need to I can cut them in half and have 2 for the price of 1! These were sent to me for review awhile back, but I have been waiting to show you guys for Halloween!

 You can also pick these up and INSTANTLY have a cool Halloween look.

What do you guys think? Anything you would like to see in particular? Ideas for what YOU will be this year? I’d love to play with some more looks!
XOXOXO 

Are YOU participating in Polish Insomniac’s Halloween Link Party? 

Click here to join!

Filed Under: Reviews, Tutorials & Looks

  • « Previous Page
  • 1
  • …
  • 7
  • 8
  • 9
Meet Stephanie Louise Telford- the blogger behind All Things Beautiful XO & Home in High Heels
Email Twitter Facebook Instagram Google Plus +
Pinterest Bloglovin Youtube tumblr RSS Feed

Recent Posts

  • Gifts to Snag for Happy Moments Right Now
  • Zoya Luscious Part B Collection Swatches & Review
  • Zoya Luscious Part A Collection Swatches & Review
  • Pixi by Petra Collagen Lip Gloss Review & Lip Swatch
  • Arise Jasmine Perfume Oil Roll-On from A Girl’s Gotta Spa! is my Purse Fragrance
  • Eye Looks featuring Urban Decay Wired Pressed Pigment Palette & Eyeliners – Two Options!
  • Urban Decay Wired Pressed Pigment Palette Review, Swatches, & Eye Looks
  • Urban Decay WIRED 24/7 Glide-On Eye Pencils in Jolt, Amped, Shock, & Vivid Swatches & Review
  • Stila Blue Realm Velvet Eye Shadow Palette Swatches & Review
  • Showing Off Pixi’s #20YearsOfGlow including my Favorites!

Popular

  • Check out my autumn nail inspiration- these foil nails are incredibly easy.Because fall nails don't always have to be dark & deep...manicures can be flashy or holo too! I'm completely in love with how easy these are to apply & the look is fantastic. Check out nail art, makeup, skincare, hair, & tons more All Things Beautiful XO My Foil Autumn Spectacular Manicure- Fall Nail Art!
  • Which Urban Decay Setting Spray is Right for You? Comparing UD Chill, All Nighter, & De-Slick sprays! See more makeup, beauty, & nails on All Things Beautiful XO Which Urban Decay Setting Spray is Right for You?
  • Mermaids. Ocean waves. Sparkle. These are a few of my favorite things! See my shifting green to blue eyeshadow look using Urban Decay! See more beauty, nail art, & makeup ideas on All Things Beautiful XO Shifting Blue & Green Mermaid Eyeshadow Look
  • Mani of the Day: Jail Bait from Spoiled Nail Polish
  • Rimmel Lasting Finish Nude Lipsticks by Kate Moss Collection Swatches & Review including the shades 40, 42, 46, 47, & 49. See more reviews, makeup tutorials, & nail art on All Things Beautiful XO Rimmel Lasting Finish Nude Lipsticks by Kate Moss Collection Swatches & Review
  • Best Drugstore Anti-Aging Hydrating Moisturizer in the Olay Regenerist Micro-Sculpting Cream on All Things Beautiful XO Best Drugstore Anti-Aging Hydrating Moisturizer
  • Fabulous Deborah Lippmann Nail Lacquer Shades- Swatches & Thoughts! 5 Fabulous Deborah Lippmann Nail Lacquer Shades- Swatches & Thoughts!

Categories:

Post History

Tweets by @StephLouiseATB
This error message is only visible to WordPress admins

Error: No connected account.

Please go to the Instagram Feed settings page to connect an account.


This blog at times uses affiliate links, sponsored material, & receives some products as samples in hopes of review. This in no way alters the articles/posts written & all opinions are my own or that of a guest writer. Please see my disclosure tab above header for more info.

Copyright © 2025 · Web Hosting By RFE Hosting