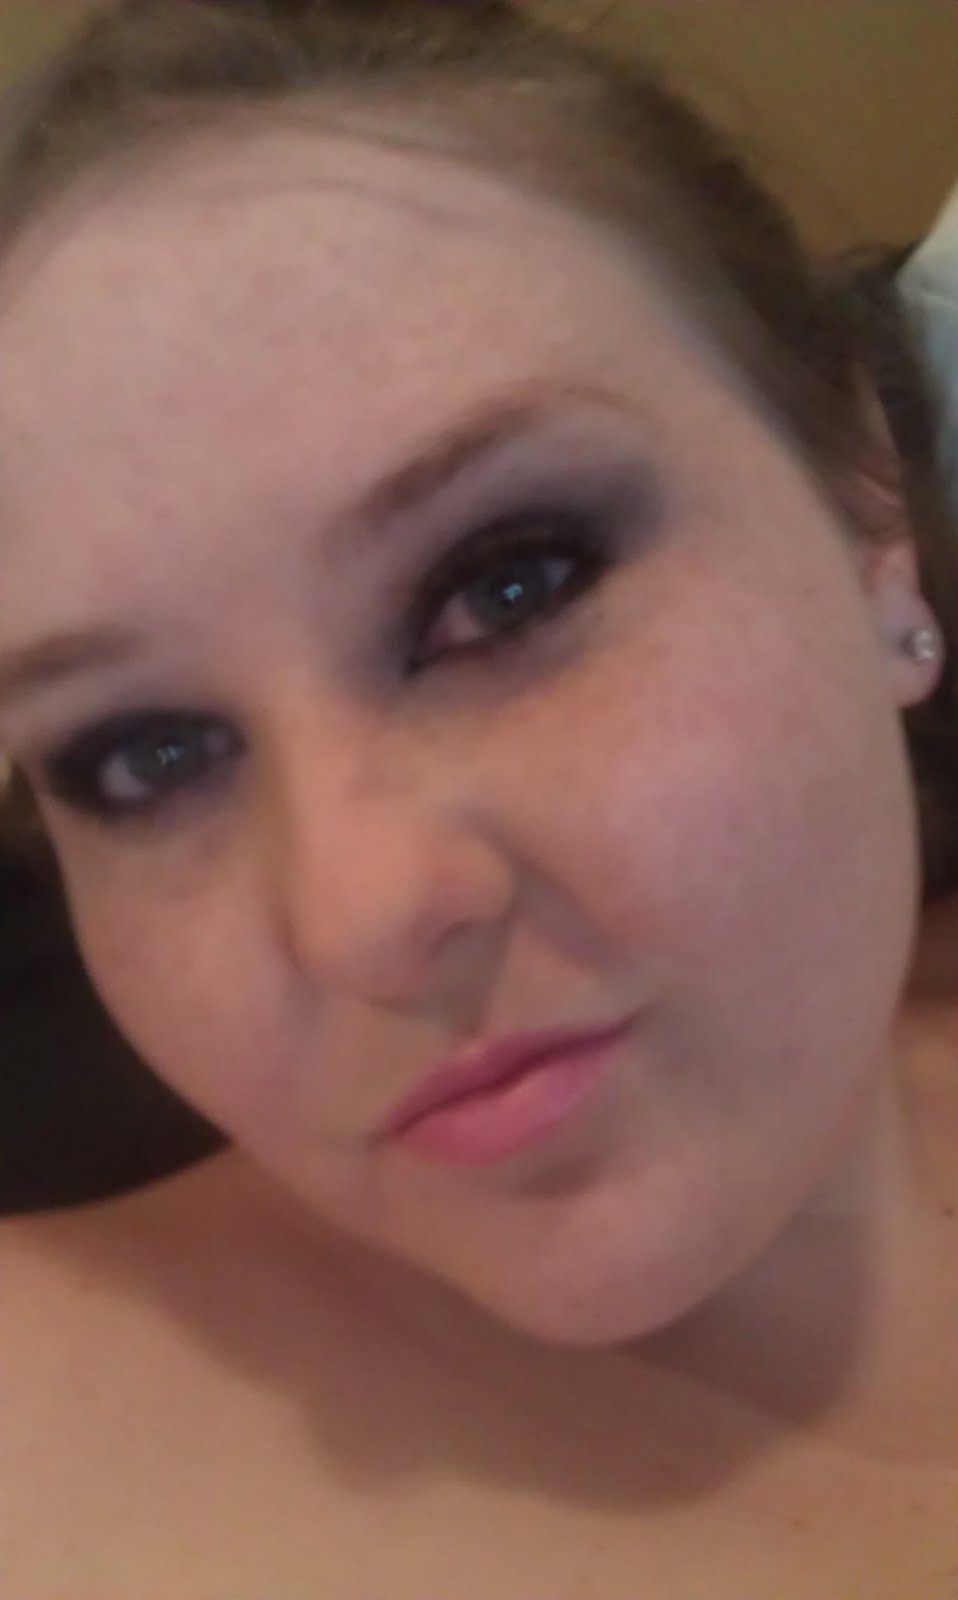
Simple, natural, everyday look.


Sorry I look so pale, by the time I was able to do it the sun was gone!
What I Used & How to:
(This look is pretty basic, so its shortened a bit!)
Face:
– Hard Candy Glamoflage in Light: Apply to problem areas including under eye. I also used it as my base.
– ELF Mineral Foundation SPF 15 in Light: Apply to entire face, serves as foundation and powder.
– ELF Studio Blush in Gotta Glow: A beautiful white highlight with gold shimmer, apply to cheekbones.
Eyes:
-Rimmel Exaggrrate Waterproof Eye Definer in Noir: Apply to inner-upper lashline. For this look, do not apply to bottom lashes.
– L’oreal HIP Pigment Duo in Retro: Apply the light shade over entire lid up to eyebrow.
– ELF Matte Eyeshadow in Smoke:Apply to lower lashline with a light hand and upper lashline from halfway to outter half. Blend so there isn’t a line.
– ELF Eyelash Curler ($1): Curl lashes.
– Maybelline Falsies Mascara in Black Drama: Apply lightly as this look calls for natural lashes.
ELF Clear Mascara and Brows Wet Gloss: Apply to eyebrows, brushing upwards.
Lips:
-VS Beauty Rush Lip Gloss in Slice of Heaven: Apply for a sheer pink glow to lips.
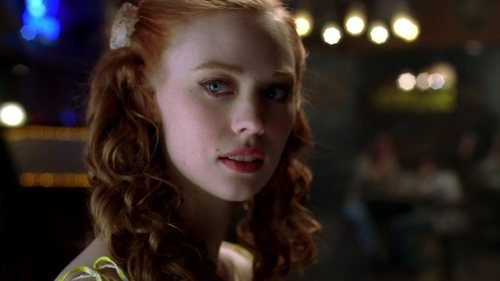
Anyone else watching True Blood tonight? We’ve been having a marathon!


