This shop has been compensated by Schwarzkopf. #got2bmetallic #sponsored Time for a hair change-up! I LOVE having colorful hair. It helps me show my personality & I definitely feel more confident rocking a style I adore. Today, we’re chatting about how I colored my hair ombre style using Schwarzkopf® got2b® Smoky Violet then doing a DIY hair headband that actually stays put using my hair tutorial! Keep reading for all my tips & tricks!
Choosing Your Dye

 This is one of the most important steps – picking the right hair dye! Consider your hair texture, length, coloring, & what look you’re trying to achieve. Some products only show up on lightened/bleached hair. Others aren’t as bold. My current shade is this Schwarzkopf® got2b® Smoky Violet & she’s basically perfect! My favorite part is that most purple/reds lean REALLY warm, but this one has a metallic-shine booster for cool, shimmering tones. This also works on darker hair! My hair is lighter, but I couldn’t resist!

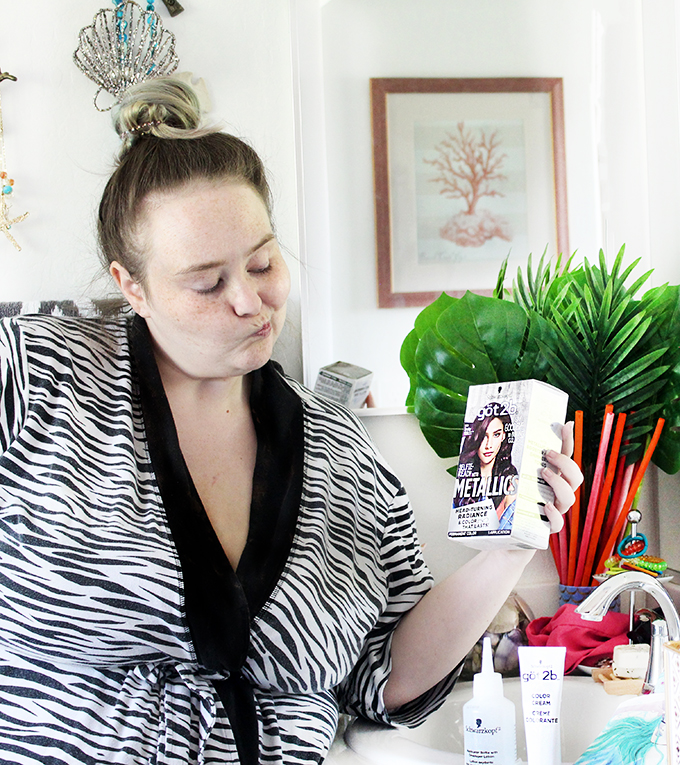
 I picked up my Schwarzkopf® got2b® Smoky Violet from Walmart, but you can see it here on Walmart’s website as well! Confident & not your average hues! Be sure to also check out the Metallic Silver which is trending & of course the Gilded Rose aka the Color of the Year!
 I also picked up some styling products for my hairstyling tutorial below! From left to right we have the got2b® Smoky Violet, got2b® Ultra Glued Styling Gel, & got2b® Freeze Blasting Spray.
Setup & Application
 I like to lay out everything I might need first! This is really helpful if your hands are covered in gloves & hair dye! Above, you’ll see everything that comes in the box: instructions, gloves, & the packet of treatment that helps to lock in color after rinsing your hair clean.
 I set everything up on my counter on a towel & another towel underneath me on the ground just in case! Then I laid it all out. I read the instructions in case I need anything else because I usually like to hang in the bathroom while my color sets.
  Lately, I’m all about the ombre look. I keep saying this is an ombre because it is a more common term, but really it is a dip dye! I love the look of my natural color fading into something bolder! To get this look is actually a lot easier than people might think!
 I always put my long hair up into pigtails with a cable hair tie whenever I’m coloring. They’re made of stretchy plastic, won’t get stained, & are easily rinsed off! I also pull in 2 hair clips to clip down my baby hairs in the front. Apply your dye from the middle to the bottom then creep up to your preferred fade point! Be sure you don’t make it too blocky & add some variation! I also make sure to wear a robe or shirt I don’t mind getting dirty!
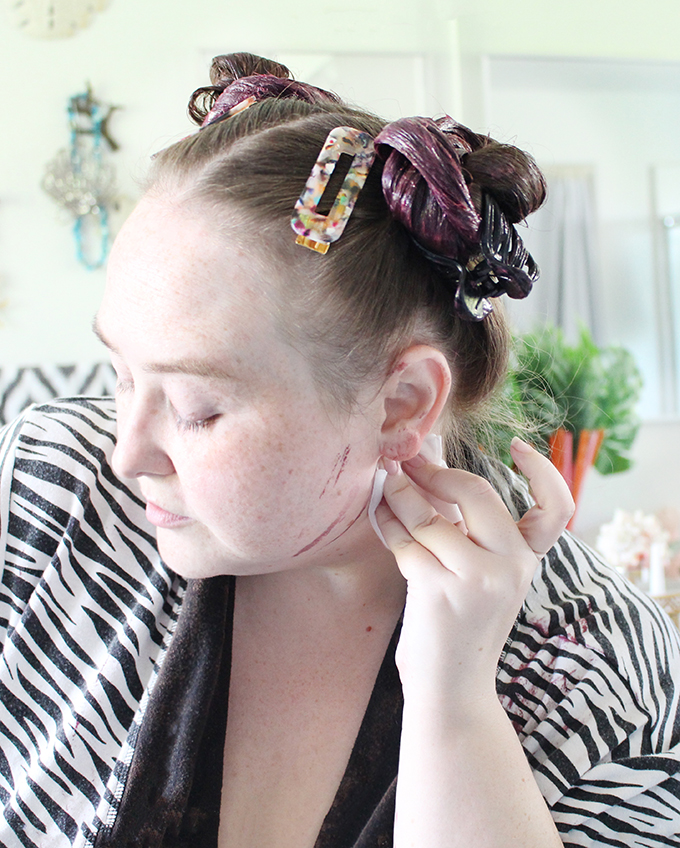
 To get ready to let my hair color set in, I twirl my hair into high buns then use old clips to secure! The claw really helps to keep it in place! You can use regular hair ties as well, but these are super easy to wash off.

Cleanup & Aftercare
 Love the color, but hate the cleanup? I hear ya. But both the got2b® brand & I have the same tip! Which is…kind of hilarious. Because for years people have recommended all kinds of crazy things then bam right there in their instructions is the trick I’ve used for years! When you’re laying out your tools etc. also lay out a cotton pad or cloth & your favorite facial toner! It works great to remove the dye without you needing to scrub and it won’t irritate your facial skin which can be quite sensitive!
 I tend to let my hair naturally dry afterward. A lot of people can seriously panic when their hair is still wet, but your hair WILL look different dry! For instance, mine looked like a deep blackberry while wet but dry it is a vibrant, metallic amethyst with cherry tones.
This Schwarzkopf® got2b® Smoky Violet is so gorgeous & SUCH a fun, bold change for me! I’m really loving how it isn’t warm like similar colors I’ve tried & it is SO shiny & healthy looking! 
Step by Step: Simple Headband Hair Twist Tutorial
 Want something pretty that actually keeps your hair out of your face? I got you! This is a take on a hairstyle my mom used to do in the 90s with her whole ponytail. Instead, I just pull back small portions from the front!
 Separate out the pieces you’re planning to use. I grab smaller sections but feel free to snag bigger ones! I only use two hair products to get this to stay in all day long!
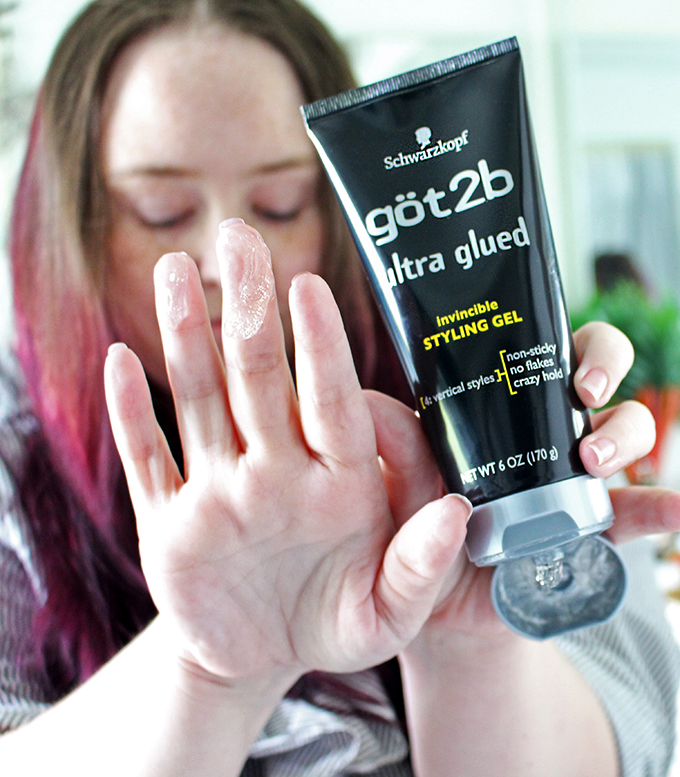
  Take the got2b® Ultra Glued Styling Gel & apply a bit to your fingertips. Apply to the strands you’ll be twisting to keep it looking neat & to stay put!
 Pull back & use a small hair tie to connect. Keep it loose so you have room to twist.
  Pull the hair up & stick the tail back through by the hair tie. Repeat until you have a twist that feels firm but not so tight that it tries to untwist.
  Lastly, spray with got2b® Freeze Blasting Spray to take care of any flyaways or set curls if you opted for some! Bobby pins are optional – I only use them if I want it to stay in a certain spot or if I add in some fresh flowers!
  What do you think of this color range? Where do you shop for hair color? Have you ever colored your hair at home? Any tips or tricks you’d like to share?


Leave a Reply